Safety Precautions and Important Warnings
Ensure adult assembly only due to small parts․ Keep instructions for future use․ Avoid adding pillows or padding to prevent hazards․ Follow all safety guidelines strictly․
1․1․ General Safety Guidelines
Always ensure the crib is placed on a stable, flat surface․ Keep the crib away from windows, curtains, or blinds to avoid entanglement hazards․ Regularly inspect the crib for damage or wear․ Ensure the mattress fits snugly, with no gaps․ Avoid placing toys or loose items inside the crib during assembly or use․ Follow all safety standards to ensure a secure environment for your child․
1․2․ Assembly Warnings and Precautions
Assemble the crib on a soft, non-abrasive surface to prevent damage․ Use only the provided hardware; substitutions may compromise safety․ Tighten all screws and bolts securely, but avoid overtightening․ Ensure all parts are correctly aligned before fastening; Keep small parts out of children’s reach․ Do not assemble near children or pets to prevent accidental injury․ Follow the manual step-by-step to ensure stability and safety․
Tools and Parts Required for Assembly
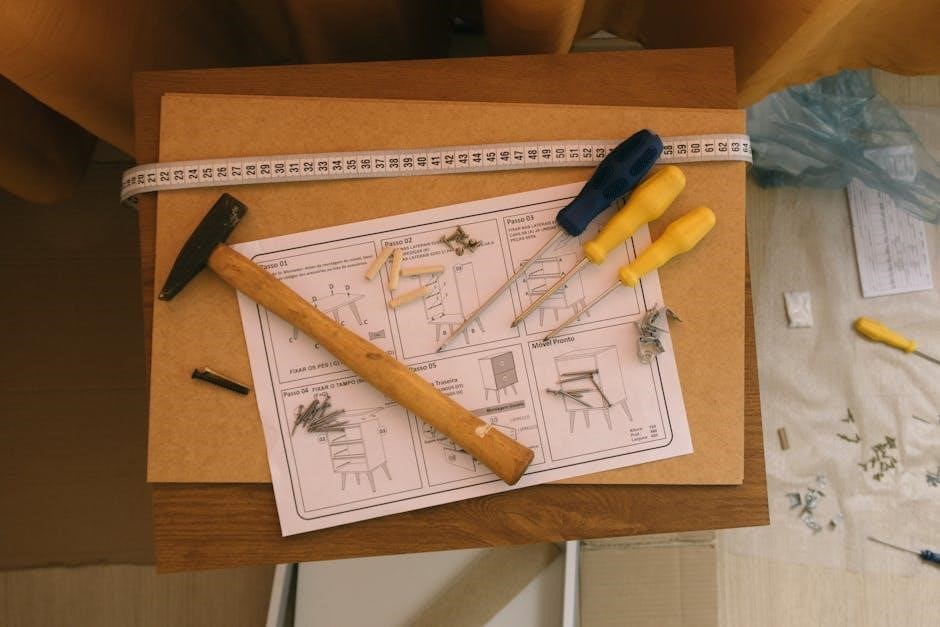
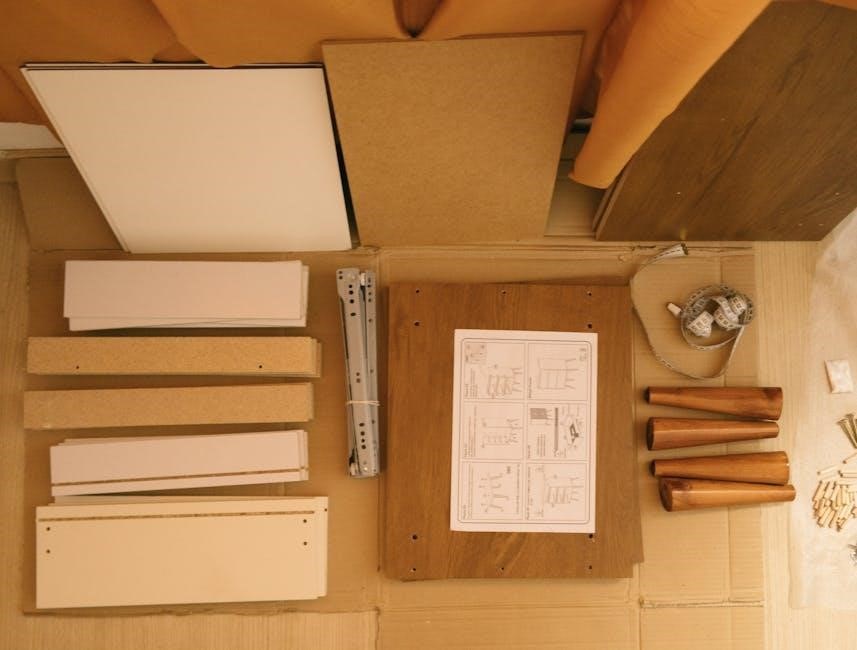
Phillips screwdriver, Allen wrench, and bolts are provided․ Verify all parts, including wheels, legs, side panels, and mattress supports, are included before starting assembly․
2․1․ List of Hardware and Tools
The assembly requires a Phillips screwdriver, Allen wrench, M4x30 mm metal pins, bolts, and screws․ Ensure all parts, including wheels, legs, and side panels, are included․ Verify the hardware package contains all necessary components before starting․ Organize tools and parts to streamline the assembly process and avoid delays․
2․2․ Mattress Size and Fit Requirements
The crib requires a standard-size mattress measuring 28 inches wide and 52․375 inches long․ Ensure the mattress fits snugly, leaving no gaps․ Use a firm, tight-fitting crib mattress and sheet to meet safety standards․ Avoid soft bedding or padding to prevent potential hazards․ Proper fit ensures stability and compliance with safety regulations for your baby’s protection․

Step-by-Step Assembly Instructions
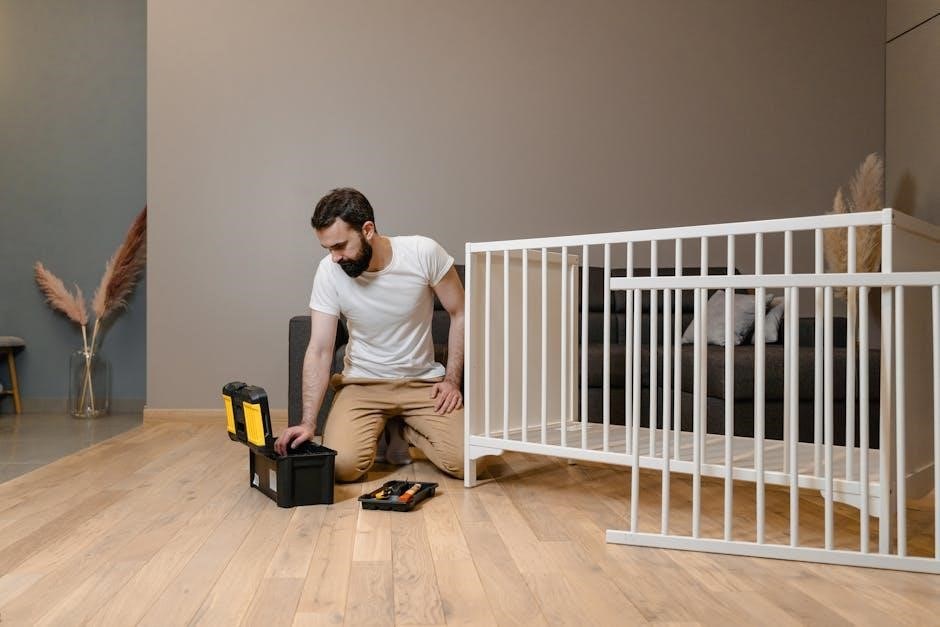
To assemble the crib frame, start by attaching the left and right sides using the provided metal pins․ Align the frame sections carefully and secure them with the bolts․ Tighten all connections firmly to ensure stability․ Use the Allen wrench for a snug fit․ Place the crib on a soft surface during assembly to protect the finish․ Follow the sequence outlined in the manual for accuracy․ Begin by flipping the crib frame upside down to access the bottom․ Align the wheels with the pre-drilled holes at each corner and secure them using the provided bolts and washers․ Tighten firmly with an Allen wrench to ensure stability․ Next, attach the legs to the center of each side, aligning them with the corresponding holes․ Use the same bolts to secure the legs․ Once all wheels and legs are in place, flip the crib back upright and test the wheels for smooth movement․ Ensure all bolts are tightened properly for safety and stability․ Attach the side panels to the crib frame using the provided screws and bolts․ Align the panels with the pre-drilled holes on the frame․ Tighten each screw securely, ensuring panels are flush with the frame․ Double-check that all screws are tightened firmly to prevent any movement or instability; Repeat for both side panels, ensuring they are evenly positioned and secure․ Stability is crucial for safety․ Convert the crib into a toddler bed, daybed, or full-size bed by following specific hardware instructions․ Ensure all bolts and screws are securely tightened for stability․ To convert the crib into a toddler bed, remove the front rail and attach the toddler rail provided․ Ensure all screws are tightly secured․ Lower the mattress to the lowest position for easy access․ Double-check the stability of the structure before allowing your child to use it․ Always supervise your child during the transition to ensure their safety and comfort․ Convert the crib into a daybed by removing the front rail and attaching the side rails․ For a full-size bed, use the conversion kit, ensuring all bolts are securely tightened․ Adjust the mattress height to the lowest position for the daybed and remove any crib-specific hardware for the full-size setup․ Always verify stability and ensure the bed meets safety standards before use․ Clean the crib with a soft, damp cloth․ Avoid harsh chemicals․ Regularly inspect for loose parts․ Store in a dry place to prevent warping․ Refer to the manual for detailed care instructions․ Use a soft, damp cloth to clean the crib’s surface․ Avoid harsh chemicals or abrasive cleaners, as they may damage the finish․ For stubborn stains, mix a mild soap with warm water․ Gently wipe and dry thoroughly to prevent moisture damage․ Regular dusting keeps the finish pristine․ Always test cleaning solutions on an inconspicuous area first to ensure compatibility․ Prevent damage by ensuring the crib is placed on a stable, level surface․ Never overload the crib beyond recommended weight limits․ Avoid using sharp objects or rough materials that might scratch surfaces․ Regularly inspect for loose screws and tighten them․ Keep the crib away from direct sunlight to prevent fading․ Always follow weight and usage guidelines provided in the manual․ Identify and resolve common issues like wobbling or loose parts by checking screws and alignments․ Refer to the manual for specific solutions or contact Delta Consumer Care for assistance․ If the crib feels unstable or misaligned, check all screws for tightness and ensure proper assembly․ Use a spirit level to verify evenness․ If issues persist, refer to the manual or contact Delta Consumer Care for assistance․ Proper alignment is crucial for safety and durability, so address any imbalance promptly to prevent potential hazards․ Regularly inspect and tighten all screws and bolts to maintain stability․ Use the Allen wrench provided to ensure proper torque without over-tightening, which may damage hardware․ Check for loose parts after assembly and periodically during use․ Addressing hardware issues promptly prevents wobbling and ensures the crib remains safe and secure for your child․ Store the instruction manual in a dry, safe place with all hardware․ Organize parts and tools separately․ Refer to it for future assembly or adjustments․ Keep it accessible for easy maintenance and troubleshooting․ Ensure it’s protected from damage to maintain clarity and usability over time․ Keeping the instruction manual is crucial for future reference, ensuring safe assembly, and proper adjustments․ It provides essential safety guidelines, troubleshooting tips, and warranty information․ The manual is a valuable resource for maintaining the crib’s integrity and addressing any issues that may arise․ Store it securely to prevent loss and ensure it remains accessible for years to come․ It serves as a lifelong guide for your Delta 4-in-1 crib, supporting its longevity and safety․ Organizing parts and tools ensures efficient assembly and maintenance․ Use provided hardware bags to store screws and bolts securely․ Label and categorize components for easy identification․ Keep tools like Allen wrenches and screwdrivers in a designated area․ Proper organization prevents misplacement and accelerates troubleshooting․ This structured approach ensures all items remain accounted for, supporting a smooth assembly process and future adjustments for your Delta 4-in-1 crib․ Visit Delta’s official website for product registration, extended warranty details, and replacement parts․ Contact Delta Consumer Care for assistance with assembly or troubleshooting․ Register your Delta 4-in-1 crib online to activate the warranty and access exclusive support․ The warranty covers manufacturing defects for a specified period․ Proper registration ensures extended coverage and faster assistance for any issues․ Visit Delta’s official website for detailed warranty terms and to complete the registration process securely․ For questions or concerns, contact Delta Consumer Care via phone or email․ Visit their official website for support options, including live chat and FAQs․ Ensure to have your product details ready for efficient assistance․ Delta’s customer service team is available to help with assembly, troubleshooting, or warranty inquiries promptly and professionally․ Verify all parts are securely fastened․ Ensure the crib is stable and meets safety standards․ Double-check mattress fit and alignment․ Confirm all hardware is tightened properly for safety․ Ensure all screws, bolts, and hardware are tightly secured․ Check wheels and leg assemblies for stability․ Verify side panels are properly attached and aligned․ Confirm mattress support is securely in place․ Double-check that all joints and connections are stable and tight; Ensure the crib frame is level and sturdy․ Verify no loose parts remain for a safe and secure setup․ Confirm the crib meets all safety regulations, including those for mattress size and fit․ Ensure no gaps exceed 2․375 inches to prevent entrapment․ Verify the crib is free from sharp edges and protrusions․ Check that all materials comply with non-toxic standards․ Ensure proper weight limits are adhered to for each mode; Confirm the crib meets ASTM and JPMA certifications for safety․3․1․ Crib Frame Assembly
3․2․ Attaching Wheels and Legs
3․3․ Securing Side Panels

Converting the Crib into Different Modes
4․1․ Toddler Bed Conversion
4․2․ Daybed and Full-Size Bed Setup

Maintenance and Care Instructions
5․1․ Cleaning and Preserving the Finish
5․2․ Avoiding Damage During Use
Troubleshooting Common Issues
6․1․ Alignment and Stability Problems
6․2․ Hardware and Screw Tightening
Storing the Instruction Manual
7․1․ Importance of Keeping the Manual
7․2․ Organizing Parts and Tools

Additional Resources and Support
8․1․ Product Registration and Warranty
8․2․ Contacting Delta Consumer Care

Final Checks and Completion
9․1․ Verifying All Parts Are Secure
9․2․ Ensuring Compliance with Safety Standards